Life /
Building: treatment methods of and understanding timber in Poland [16]
It seems like you actually know what you are doing :)
Stop me when I'm saying things that are obvious to you.
I am using a mix, two coats ofTeak coloured oil based teflon for water proofing and then (as was recommended) a insect repellent with a darker stain.
So I should be able to get away with dry epoxy or woodfiller, I hope.
pre-drill holes in wood with a drill bit dia. the same as, or a hair larger than, the screws/bolts. If you use washers under the screw/bolt heads that would can split all it wants; it's not going anywhere. You may have to countersink for washers with a Forstner bit, not with the typical countersink one. If the framing timber is more than 4" I'd look into two anchors per width to restrict cupping from uneven moisture conditions on either side of the timber.
Doh!, I was hoping to get away with once on the inside and twice on the outside...
I am using a mix, two coats ofTeak coloured oil based teflon for water proofing and then (as was recommended) a insect repellent with a darker stain.
So I should be able to get away with dry epoxy or woodfiller, I hope.
Wood fillers are often advertised as "stainable". I have yet to see one that really is.
Since I have no idea about that teflon thing and how it would affect the knot esthetics I would revise the epoxy technique. Have some very fine ash ready. Ash as in burnt wood or paper, not wood species. By fine I mean flour fine. Salt grains would be much too thick. Use a coffee grinder to make 1/2 cup or so.
I usually work with two part epoxy and when I make a mixture I add even parts (by volume) of resin, hardener and ash. I mix that well (stirring for at least a minute) and the substance, when hardened, makes knot gaps turn into some handsome and natural looking dark lines. The oil part of your teflon finish will stick to it well. If you stain it the adhesion is irrelevant sincethe filler will be darker anyway.
When filling the knots don't try to make a perfectly smooth patch over the surface of the knot. Instead, pour little blobs of epoxy along the lines to be filled and push the excess toward the centers of gaps. It will go down, settle around the knot and keep it nice and snug. You will likely have to repeat the process to fill the small ridges resulting from the epoxy flowing downwards. Again, remember about the tape on the other side. Otherwise you will epoxy your material to the work surface, or you will end up with a big blob of epoxy on the floor. Keep the material flat until epoxy dries.
Back to teflon - this is something where I have to back off. I never worked with teflon and for what I do I never would. I want to make sure you take this as what I would or wouldn't do for me, not as a suggestion to abandon the idea for your project. Although the idea seems fishy to me as few things seems to stick to teflon. Will the stain? I really have no answer because I am unfamiliar with this technique and the likes of teflon or silicone have no place in a woodworking shop.
It sounds great for external finishes though. Only make sure you there is material compatibility between different finishes (teflon, stain, the bug repellent). Call the manufacturers to confirm local wisdom. Also make sure about the sequence of application. If teflon is so good for water proofing that means it is an anti-penetrating agent. If so, then what exactly is the role of the bug repellent (hope it's not arsenic based) if it won't penetrate wood and thus will be washed out after a rainy day or two. Same for stain.
Or I might have it altogether wrong due to my ignorance about the product.
At any rate, my suggestion about the same number of coats on both sides is critical when it comes to film finishes (poly/varnish/acrylic). Penetrating finishes (stains) do not create nearly as much surface tension so one good application on the inside of the wood should do it. If that teflon is penetrating then I wouldn't loose sleep over applying just one generous coat on the inside surface.
Just to make sure I have a clear picture. By "ends" you mean... well ends, not edges. The ends point downwards and someone suggests wrapping those ends with some type of J-channel.
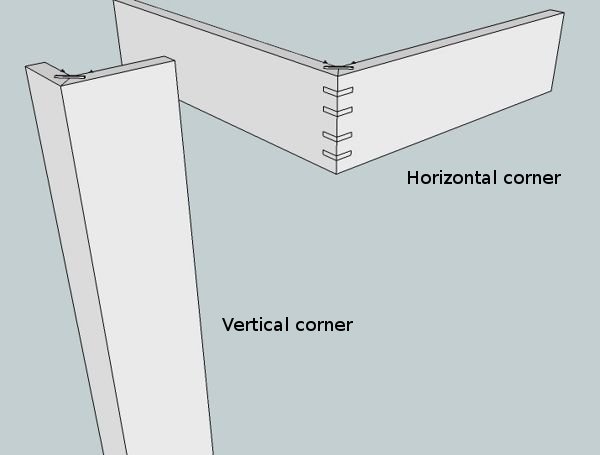
I would just 45 them and make them absorb as much of that teflon stuff you got there as possible. Wood "drinks" water through its ends but capping them can cause more trouble since now water, which WILL get in there, may never get out of there and this will cause rot. Things will look good for a few years and then rot will start showing up. I saw enough of those corner J-channels that ended up falling off because after a few years there was no wood to hold them anymore. Most water damage occurs behind those protective aluminum elements around roofs. To put it simply, those channels do not prevent damage, with some exceptions due to the nature of water flow. They hide it for as long as the damage does not extend beyond the area they cover.
I just went out for a smoke and I looked at my garden tools shed. Corners, overlapped and solely decorative elements, are made of cheap pine strapping, 5/8"x4". I built that shed 5 years ago and I only used one coat of penetrating stain. No checking at all. The same goes for my backyard gates. Cheap pressure treated material, 20 years old. It's got a lot of beating over the years. Not a trace of checking.
I am planning to replace them with white oak over steel frame. White oak is great for the outdoors, but
not as resistant to rot as the larch you are working with. Larch resists rot even in contact with the earth (!!!). That is rare and a huge benefit. Make sure you do more research on larch itself. Perhaps you can skip some of the chemicals without paying one bit of a penalty in quality and durability. Maybe you could tint the teflon thing and skip the staining step? Call the manufacturer, or see if they have a website with advice.
If you want "toys" then I would definitely go for #2. I would present this solution to wifey as the only feasible one, even if down the road it wouldn't prove to be such a good idea. The "toys" would stay with you though ;-)
The best timing for that is in the middle of the project:
"Honey, I'm stuck. I need {insert the name of the tool you want}".
Always works for me. Usually, before I even get to the store she calls on the cell and makes sure I don;t get some cheap tool. "Get quality".
One general piece of advice I was given years ago, and I use it sometimes, is not to try to hide potentially troubled areas. Make them a part of the design instead. All those little groves, recesses, moldings etc you see often play two roles - add to the character of the design and hide crappy glue lines and inconsistencies in the grain patterns. Look at your design and try to visualize it. Or better yet, draw it in 3d with google Sketchup. Highly recommended.
In the long run it saves a lot of time and material as you can actually see what you need and how things will look in 3d. It helps you create bill of materials (automatically with the pro version ($500), or manually with the free version. Learning curve is not very steep. 15 to 30 minutes and you're in business. Plenty of video tutorials on youtube. I'm attaching a sample overview of the bottom part of a board. That one is simple, about 2 minutes to draw, but sketchup can be used for much more complex designs such as your entire property with the house and all rooms in it. Filled with furniture too.
Something I find unusual about Poland is when I wanted to buy the wood, for an example, they give all prices in M3 and then you have to work out how much you need by working it out.
I buy by board feet here.
1 bf = 144 cubic inches (1"by12"by12") so the measure is cubic too. I find bf easier though as I can ballpark what I get by envisioning actual boards which are usually sold in widths of 8 to 12 inches and lengths of 8 to 12 feet.
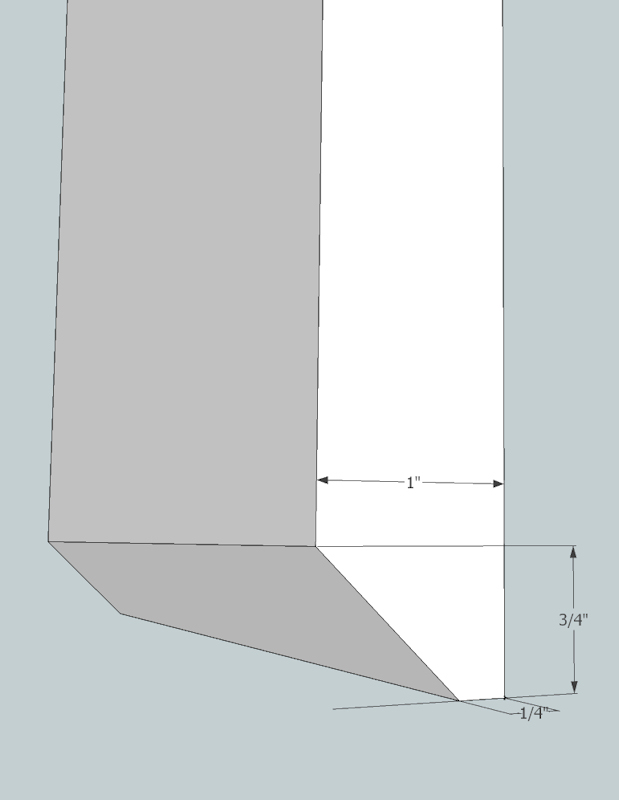
Image1.jpg
 PolishForums LIVE / Archives [3]
